Manage Products
Product Setup Guide: A Step-by-Step Tutorial
This guide provides a comprehensive walkthrough of the product setup process within the Genova system. Each step includes a screenshot to aid in navigation and ensure accurate completion of the procedure. Follow these instructions carefully to successfully configure your products.
Start url: http://localhost/vanguard-genova/cia/admin/products-list
Tab Name: List Products - GENOVA INSURANCE
Access Product Setup: To create a Product, On the Manage Product section Under the project Management

Tab Name: Product Setup - GENOVA INSURANCE
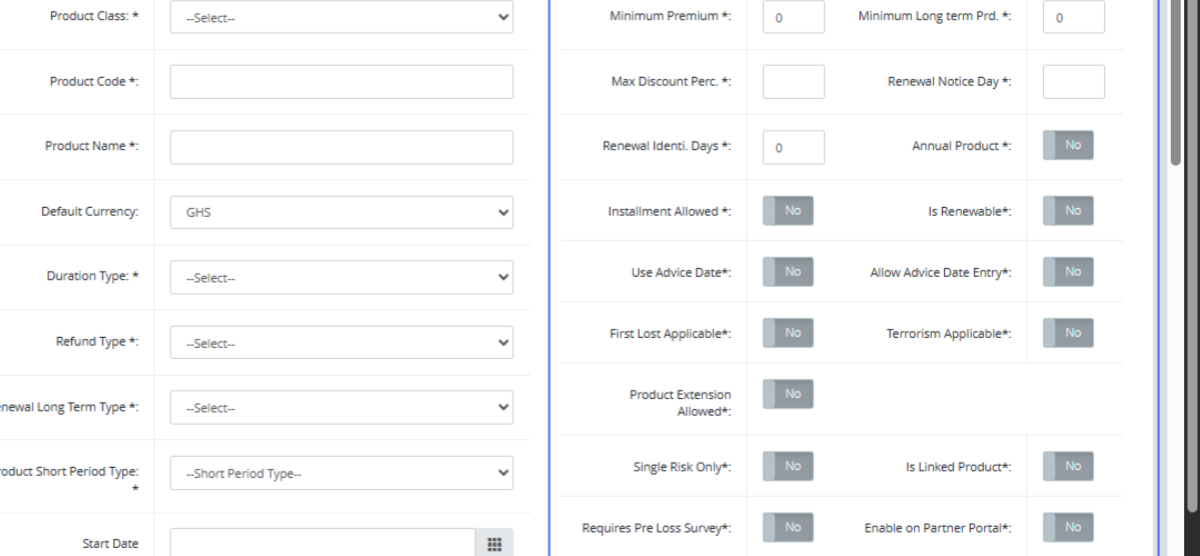
Select Product Class: Select the Class of Business the Product belongs to.

Enter Product Code
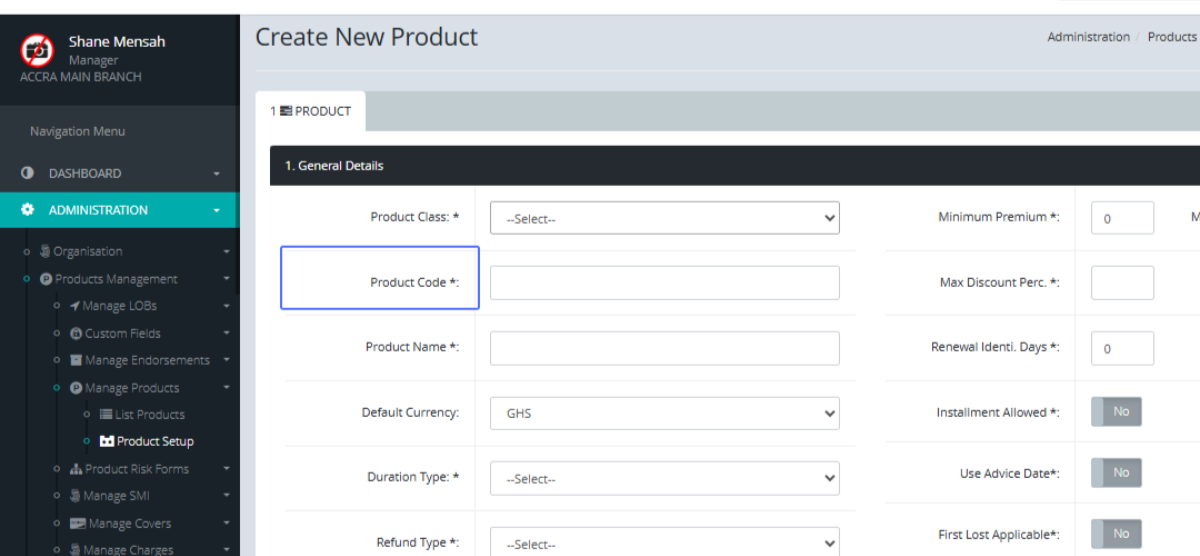
Enter Product Name
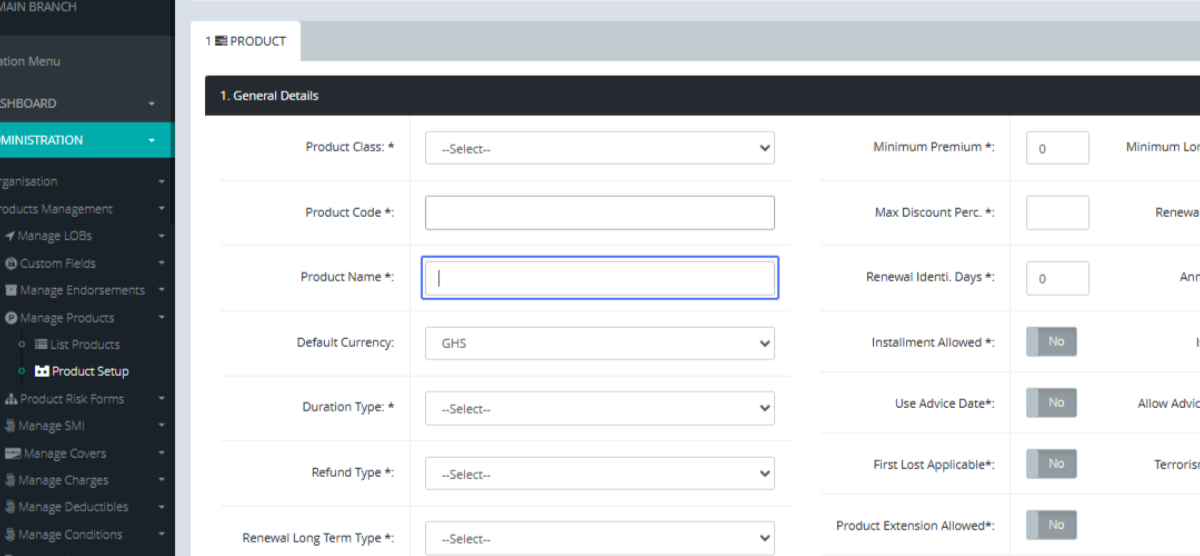
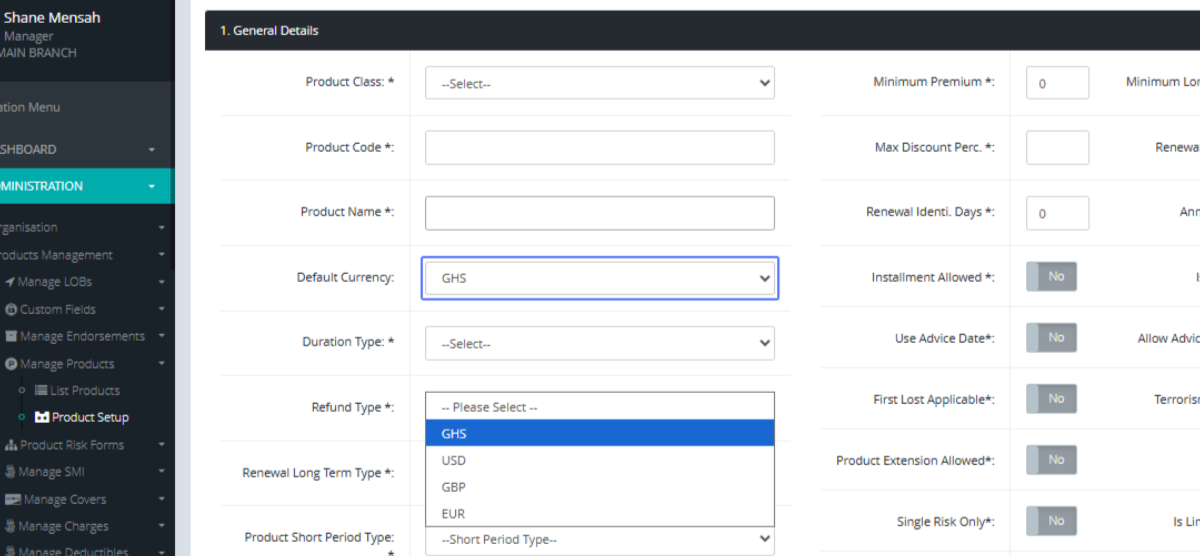
Select Product Currency
Select Duration Type: Select the Duration Type form the dropdown provided.

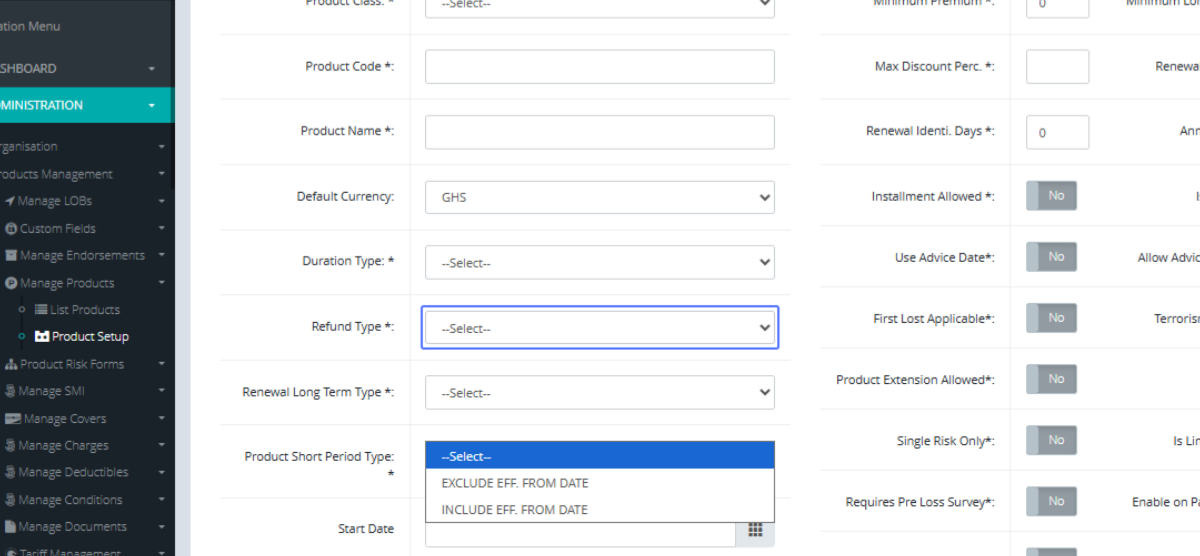
Select Refund Type: Select the Refund Type from the Dropdown.
Select Renewal Long Term Type : Select the Renewal type from the Dropdown provided.

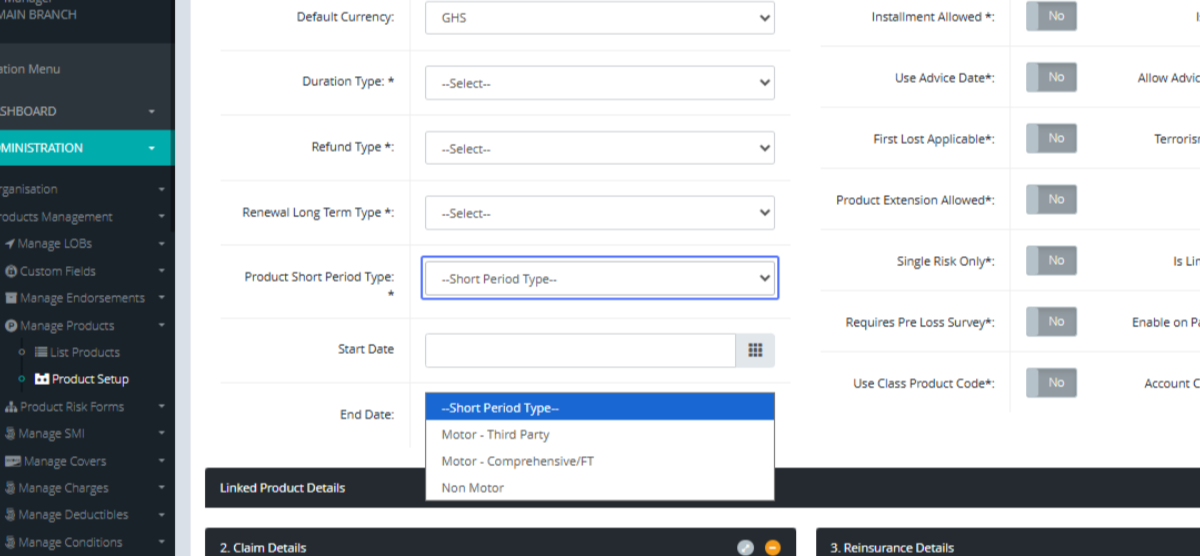
Select Short Period Type: Select the Short period type from the dropdown.
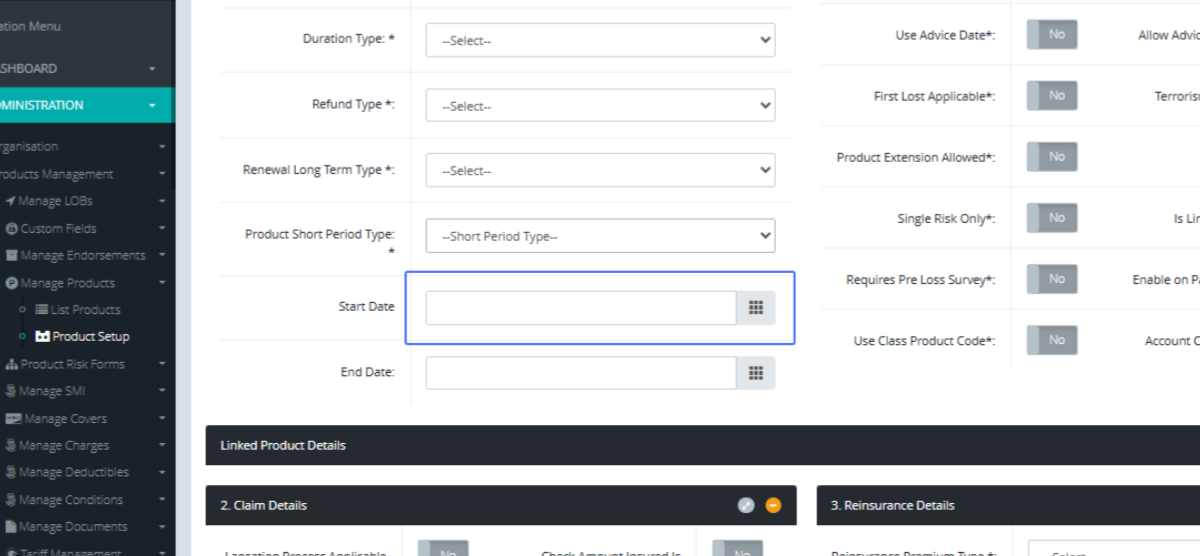
Select Start Date: Click this section to open the calendar to select the start date for the product.
Enter Product Details: Peruse through both sections and select the options that apply to the specific product.
Configure Claim Details: Peruse through the Claim details section and set all options that apply to the product.
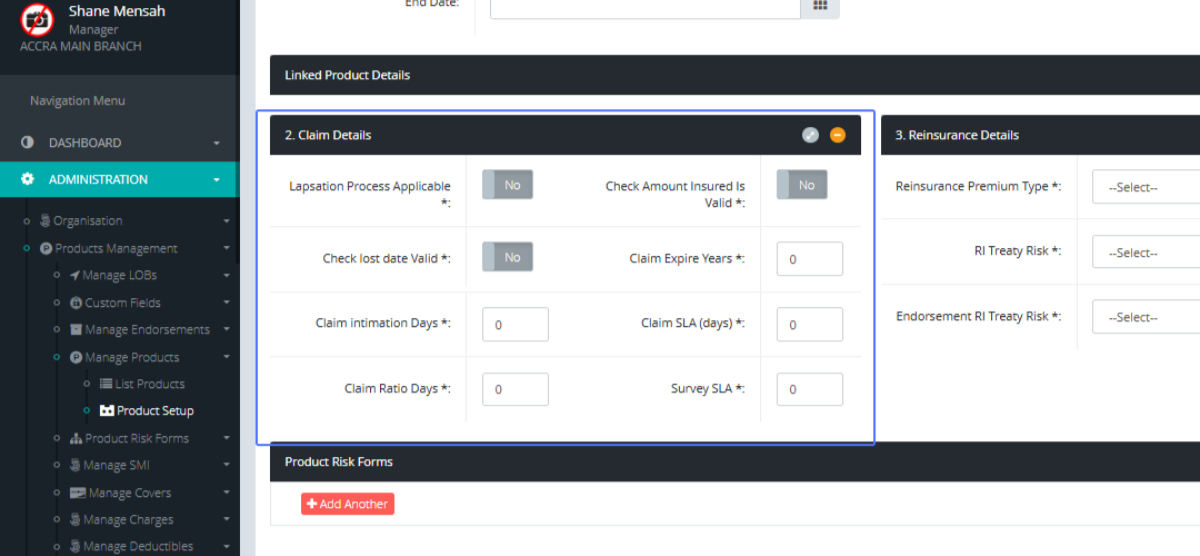
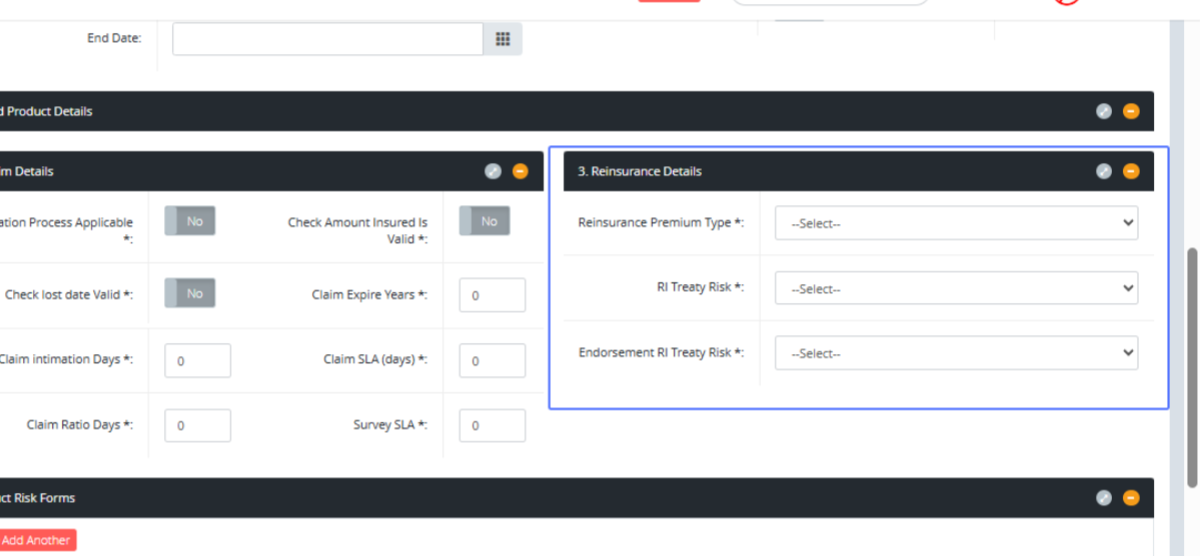
Configure Reinsurance Details: Peruse through the Reinsurance details section and set all options that apply to the product.
Add Another Product Row: Click this button to add the Risk Form.
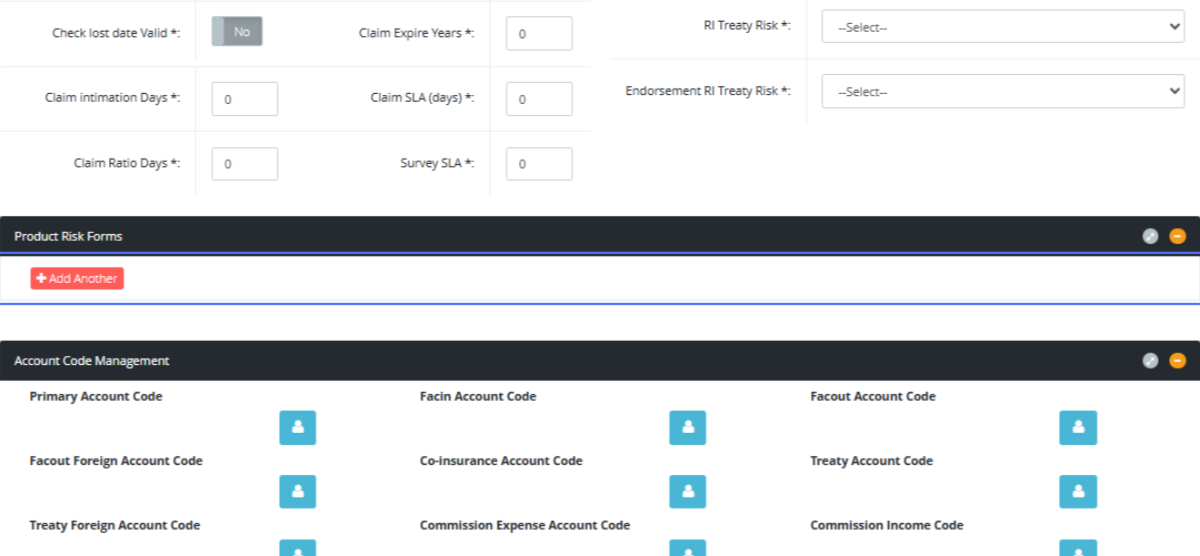
Enter the details of the risk form

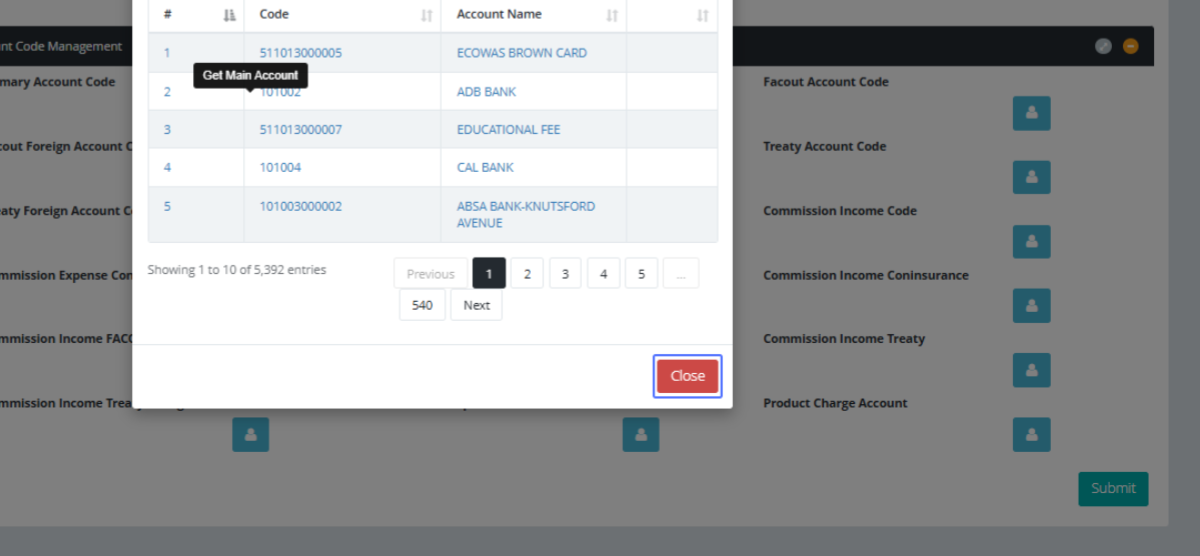
Configure Account Codes: This section is to configure the accounting entries for the specific product.
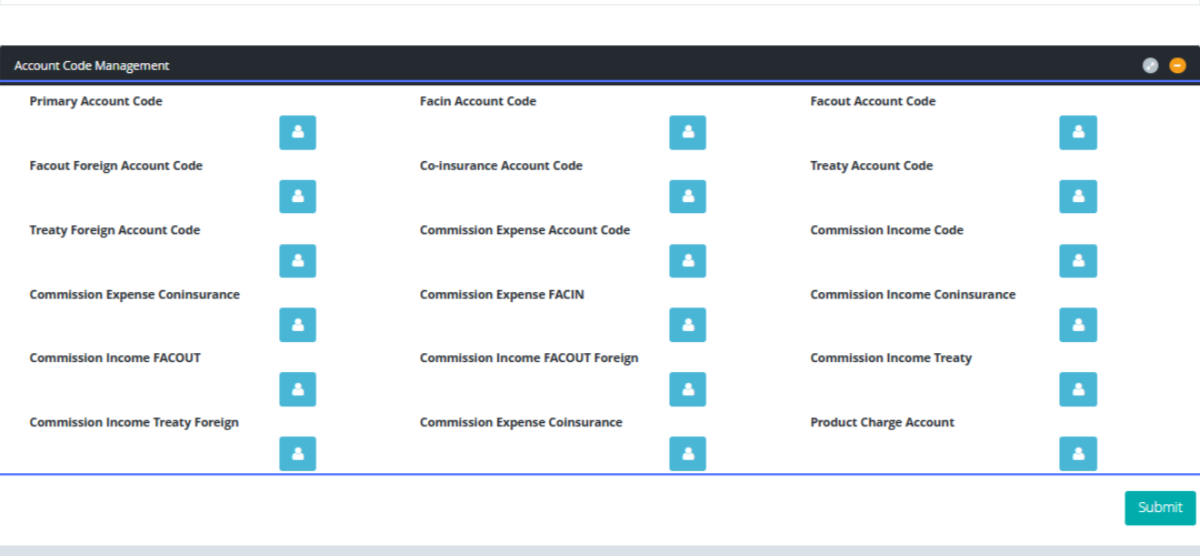
Select Main Account Code: Click on the User Icon to open the modal to select the account.
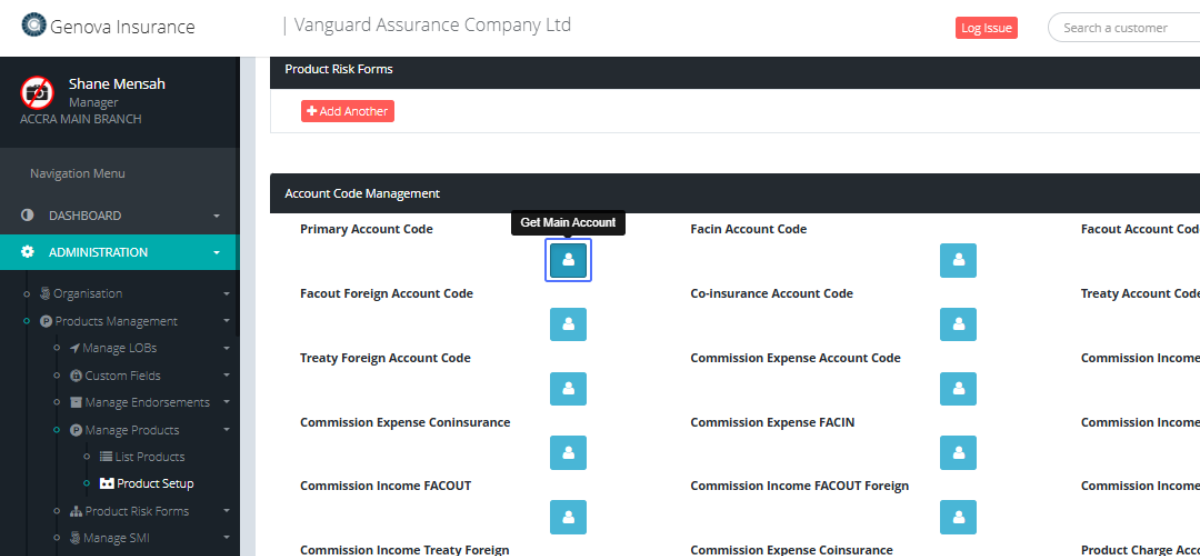
Close the Modal: Click on the User or account you want to set the product to and Close the modal